There is no one-size fits-all process, you have to adapt your approach to fit the situation.
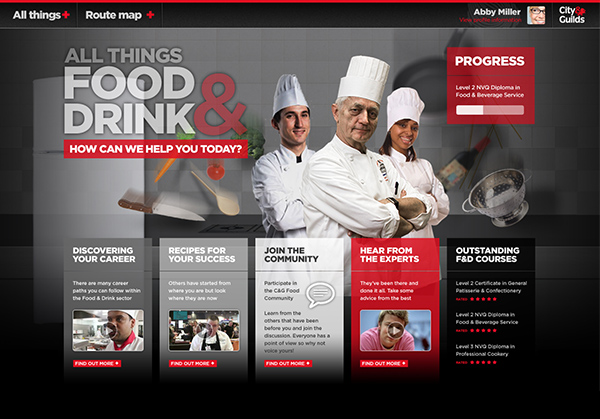
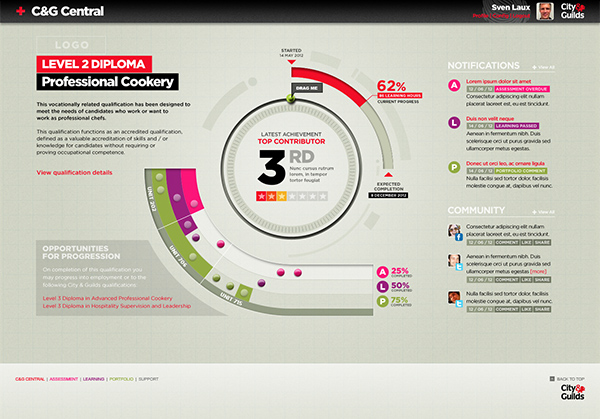
When I created this site I wanted to talk about user centric design methodologies and the design process I’ve developed and adopted over the years but it’s a daunting task, especially if you prefer drawing pictures instead of writing loads of words. But digging through my files I found a document I wrote back in 2016 for City & Guilds which still feels pretty comprehensive.
There’s a lot here so cherry pick, get inspired or just steal it all but have fun while doing it.
Discover
“The assumption is that we do not yet know what the problem is so we must avoid talking solutions until we absolutely know what we’re solving.”
Define & Interview the Stakeholders
Talk to key individuals to help understand the business requirements – what are the expected outcomes from the project, what is the vision, what defines success, what are the potential pitfalls, what are the presumed constraints, what challenges do we face, who does the product serve and how could this change in the future?
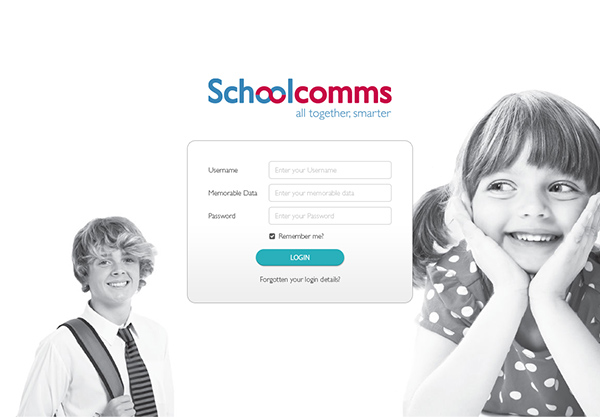
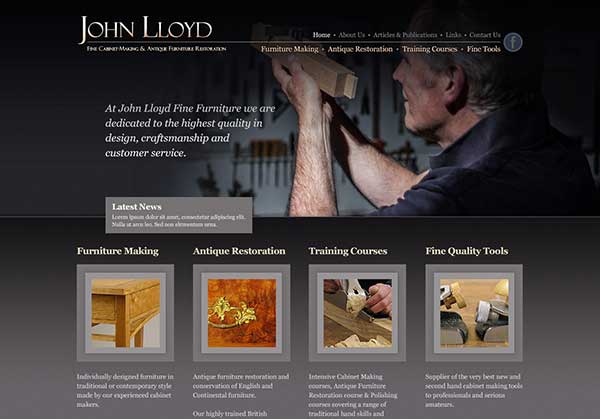
Stakeholder interview report from Schoolcomms project
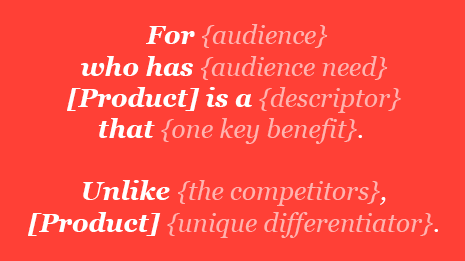
Product Vision & Brief
Document a clear, concise and shared understanding of the project vision, capture the main user groups, identify any conflicting requirements and define the UX vision. Anticipate a future outcome to help ensure all touch-points positively reinforce the objectives and define success metrics of discoverability, learnability, efficiency, system performance and delight (the micro-interactions).
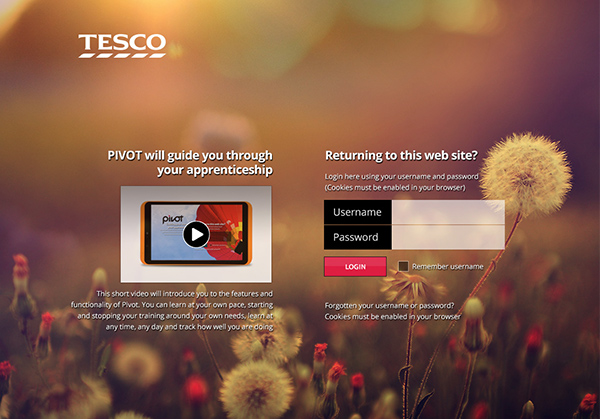
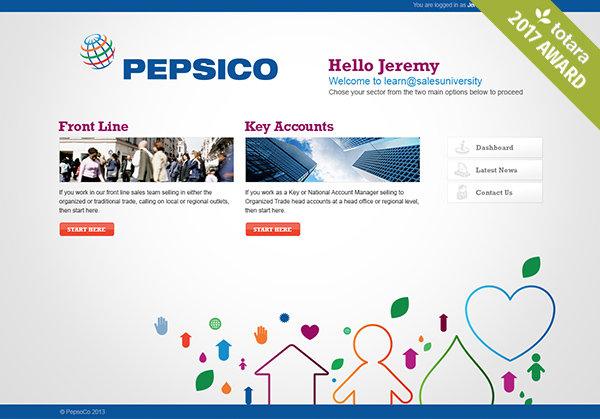
Product vision statement template created for PIVOT
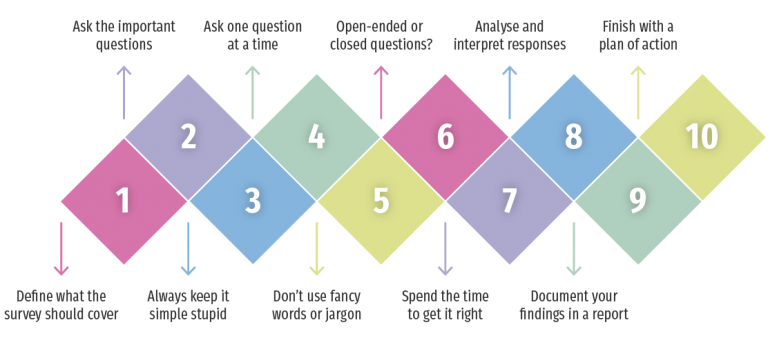
Surveys & Focus Groups
Who, what, when, where, why and how?!? Talk to real users to find out what they need, want and might like. If there is an existing product – what causes the biggest frustration and how does the product help. Try to focus on the customers or end users to get a real understanding of how they interact with the product.
Designing a good survey
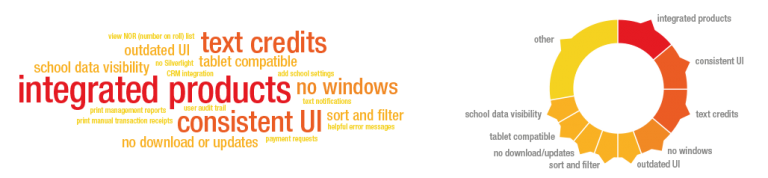
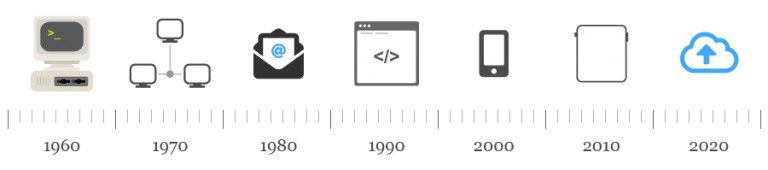
Product History
If there is an existing product, conduct a review with a focus on identifying the main areas of friction for all user groups, what’s been perceived to work well and/or less well, what needs improvement, what can be reused, what can be completely redesigned, what can be binned?
Product Research
Analyse other or alternative products that may or may not have similarities. Look at completely unrelated products that have made an impact, disruptive technology (past, current and future), who are the real innovators, start-up success stories, how did they approach and solve the problem. What process did they follow to deliver and launch their digital product.
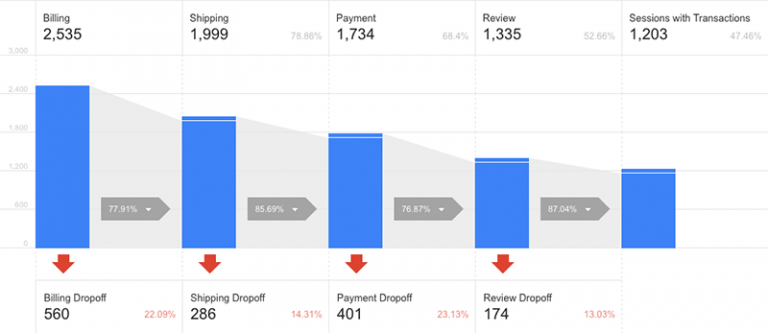
If possible, obtain and identify actual user behaviour and feedback from Google Analytics and/or any other sources available. What path did users take through the content, what technology did they use, where did they exit, how did they behave at a particular point and the sequence of interactions they followed? Identify unnecessary or failed steps, goals and funnels.
Example Google Analytics report
Define
“If I had one hour to solve a problem, I would spend 55 minutes thinking about the problem, and 5 minutes solving it.”
Requirements Workshops
Conduct workshops, engage with stakeholders and SME’s (Subject Matter Experts) and talk about the findings from your Discovery phase, challenge previous assumptions and develop a deeper understanding of the project. For big projects, acknowledge that this is an iterative design process and the requirements will evolve as the project progresses. For smaller projects, try and nail it first time.
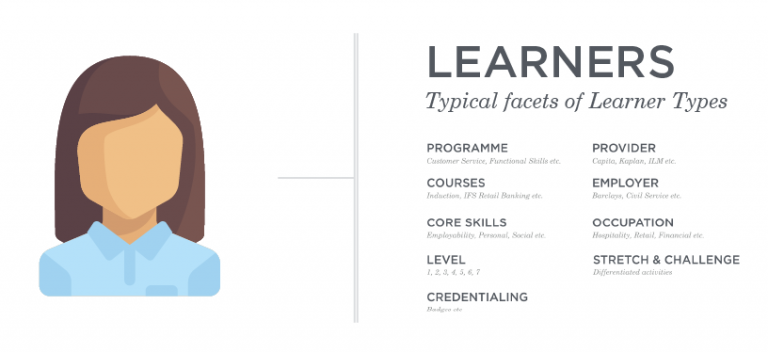
Document short descriptions of the main users – their goals, tasks, expectations and if you can their motivations and behaviour. Keep this in an accessible format (a.k.a brief). These user profiles must not become too wordy or define personality types, demographics, brand story characters or stereotypes as that is not so useful for design and development purposes.
Distilled from the user profiles, the epics you create will be used to capture the large-scale detail of whatever it is your working on, giving an overview of features that provide value to a user and defining the high-level functional requirements, interactions and sequences.
User Stories (Agile)
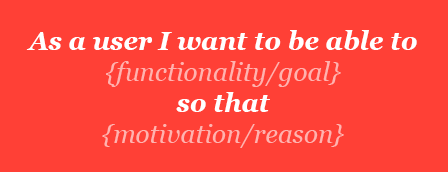
Expanding upon the epics, each user story needs to be clear, feasible and testable. They must be written in short sentences that encapsulate a need or a discrete element of functionality, something a user wants to accomplish by using the product, providing the granular detail of what the system needs to do.
E.g. If an epic is “As a user I want to create a new account” then the user stories might be:
“I want to type in a new username”
“I want to enter a password” and
“I want to submit this information to create an account”
User Journeys, Scenarios & Task Models
User journeys can be created by arranging your user stories into the sequence of activities or steps a user would perform to achieve a defined goal, it helps to understand the key motivations and task based scenarios that your users encounter or would want to perform. This helps to ensure core tasks are kept simple and easily accomplished.
Regulations, ethics, legislative, accounting, safety and security.
Design
“Designing a product without continual validation is a bit like driving a car while wearing a blindfold.”
Sketched Ideas
Sketching design ideas and basic concepts with pen and paper or MASSIVE whiteboards is an efficient and fun method to allow creativity and imagination to flow without worrying too much about the detail.
The aim is to visually problem solve by drawing out screen-to-screen interactions and understanding what the user will see. This work should be highly collaborate.
Rough sketches allow you to explore different design solutions quickly to help figure out what direction is best. A sketched concept of the UI makes the wire-framing process faster and easier.
Initial sketched ideas for the EPA Portal project
Lo-fidelity Wireframes
Start to refine the sketched concepts of how the product will work using basic wireframing techniques, this can help you to think at a higher level of detail. Low-fidelity wireframes focus on sizing, placement and order of elements on each page and allow a more detailed exploration of content, navigation and interactions.
Further refinement of the initial wireframes allows you to develop the finer details of the interface design. Think painting-by-numbers with a liberal sprinkling of artistic license and creativity.
As you increase the detail you focus more on the visual form – the layout, navigation, buttons and form elements.
Hi-fidelity wireframes created in Sketch App for Wella
Deliver
“By this stage you should know exactly what you need to do. Just add a little design creativity and remember to test the final results!”
Lo-fidelity Prototypes
Using the lo-fidelity wireframes, without any bells and whistles, you can quickly build out rapid prototypes to bring the design concepts to life, communicating function and testing with an iterative process.
By keeping things simple you force your test users to think about content and flow as opposed to appearance and aesthetics. The purpose is not to impress but to learn and reinforce engagement with the design process. Building a practical, preliminary version of the product can help catch potential problems and identify promising insights faster.
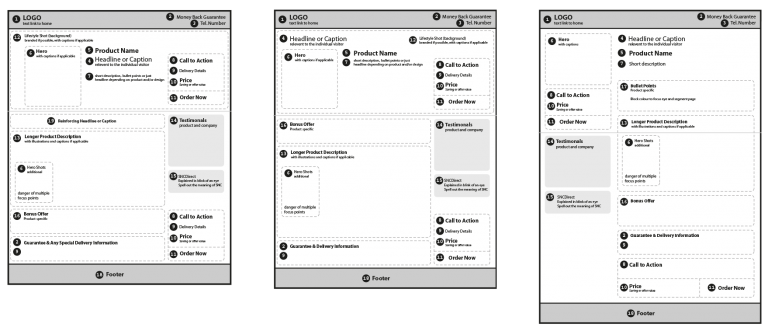
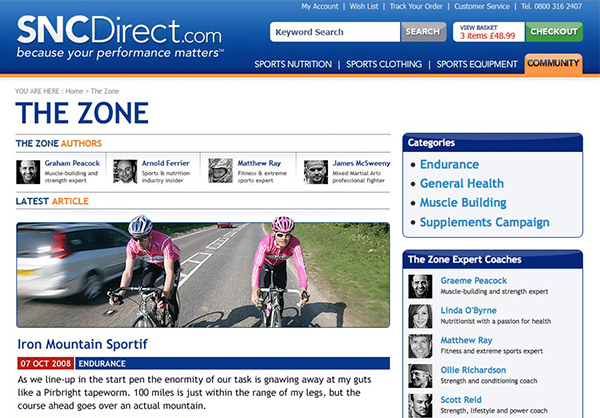
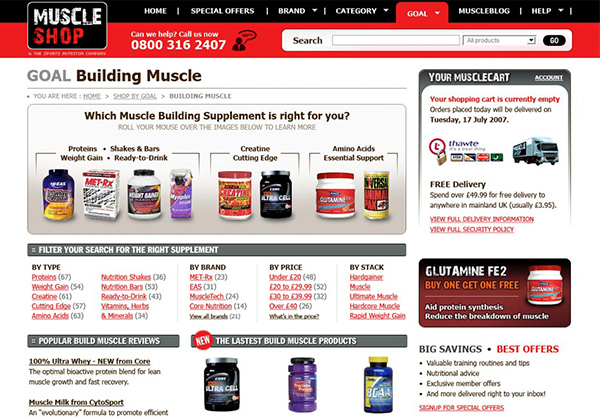
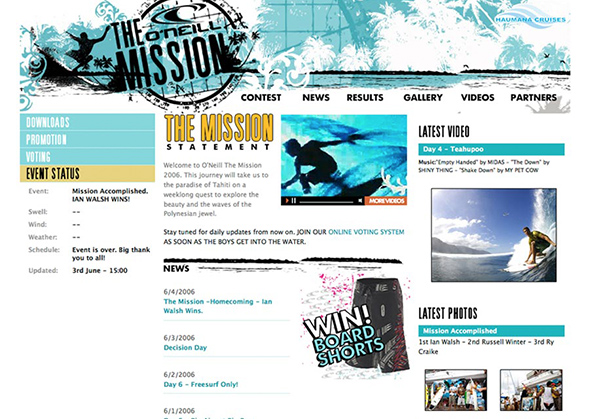
Lo-fidelity prototypes for SNC Direct designed to test landing page layouts
Hi-fidelity Prototypes
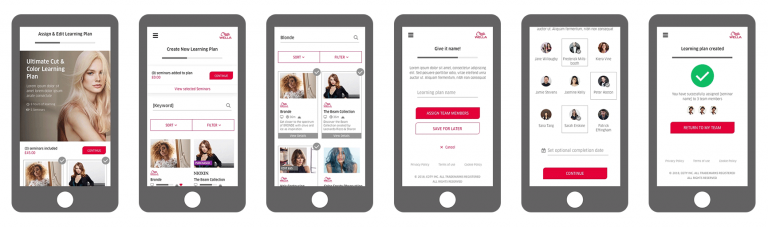
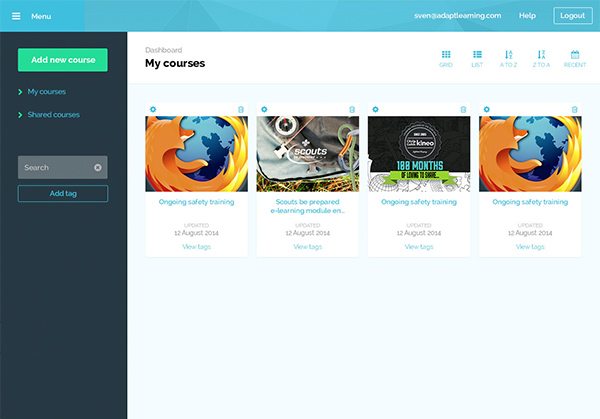
Iterative prototyping adds the additional level of detail captured in the hi-fidelity wireframes. At this stage, by increasing the level of detail and more fully representing a finished product we are able to elicit feedback from a wider audience without asking them to imagine what the product will look like when it’s done.
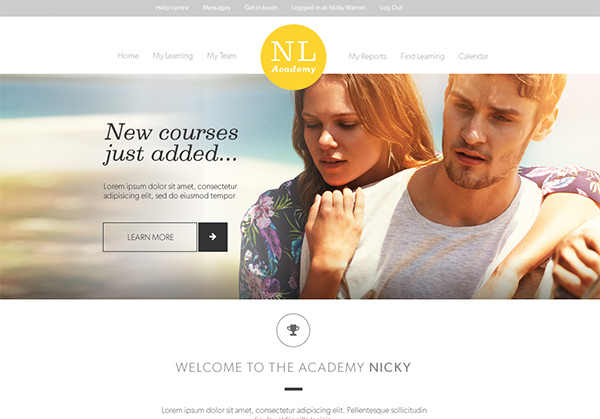
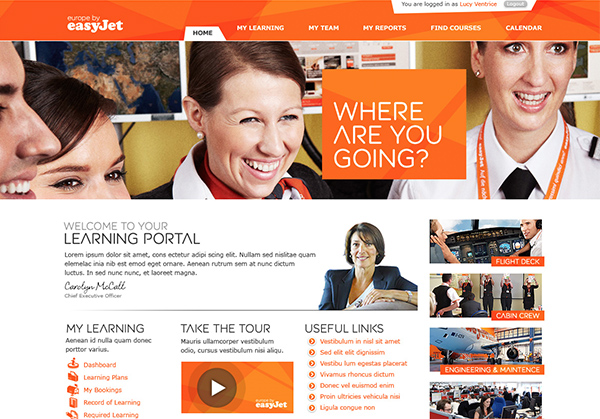
Hi-fidelity prototype created for Wella and delivered via InVision.
Probably one of the most important but often overlooked steps in the process.
Testing should be conducted internally within the organisation and externally with real customers. You’re not looking for praise (although it’s always nice), your looking to validate the changes you’ve made or the new digital product you’ve helped create.
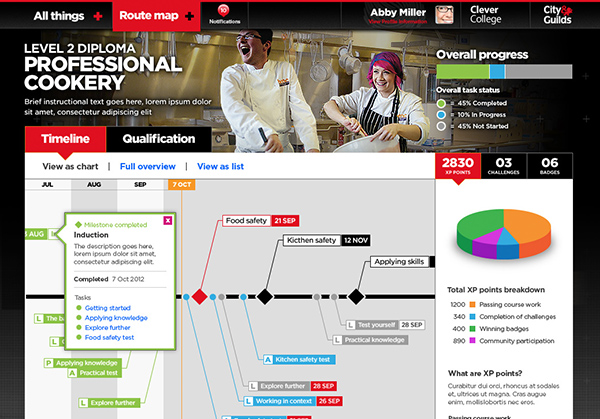
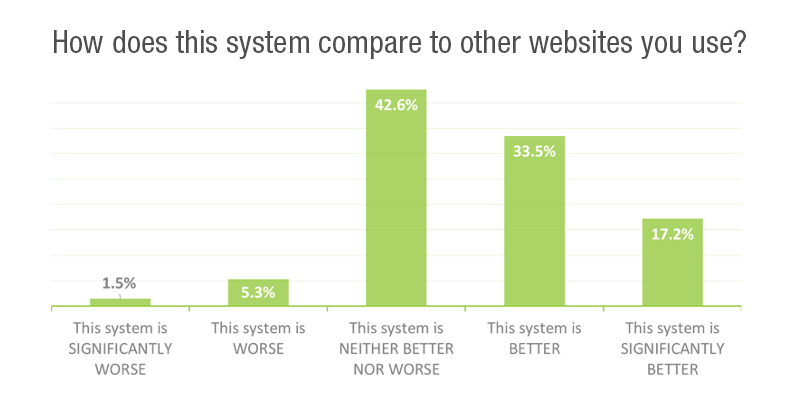
User testing as part of the interative improvements made for PIVOT 50.7% of users said their current system is better or significantly better than other websites they use
Intuitable is pretty much the full(ish) portfolio of Michael Palmer. Everything that you can see here is of my own work. I have been fortunate to work with some great organisations and individuals in the last 20(something) years, and their commission / contribution is noted.